
Quick Start
Prerequisites
In order to start using the Open Elements, you must have an OpenPath account. If you have not created an account, please visit the following page to create one: Create a Free Account
Quick Start
Open Elements can be setup quickly and easily. However, it has an array of advanced configurations when required. This quick start is designed get you up and running with the most basic configuration.
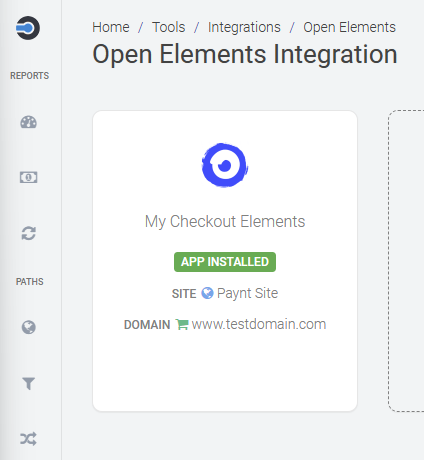
Create an Open Elements Integration
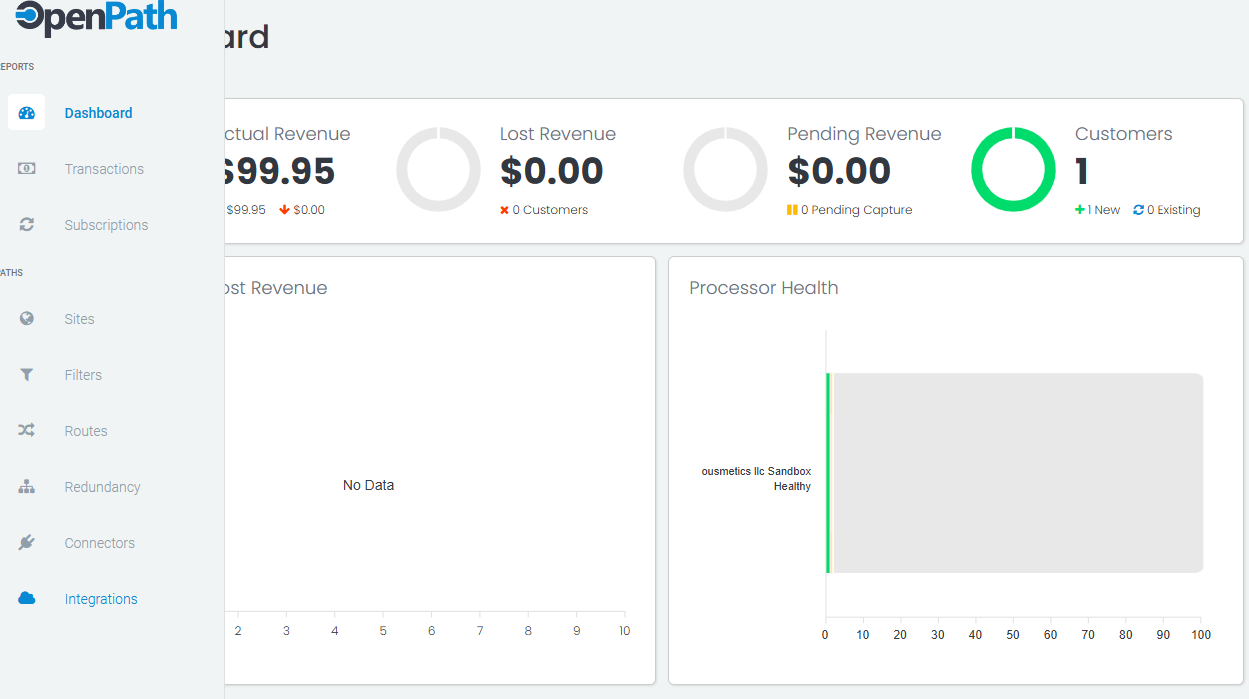
To get started login to your OpenPath Merchant Portal Login Here
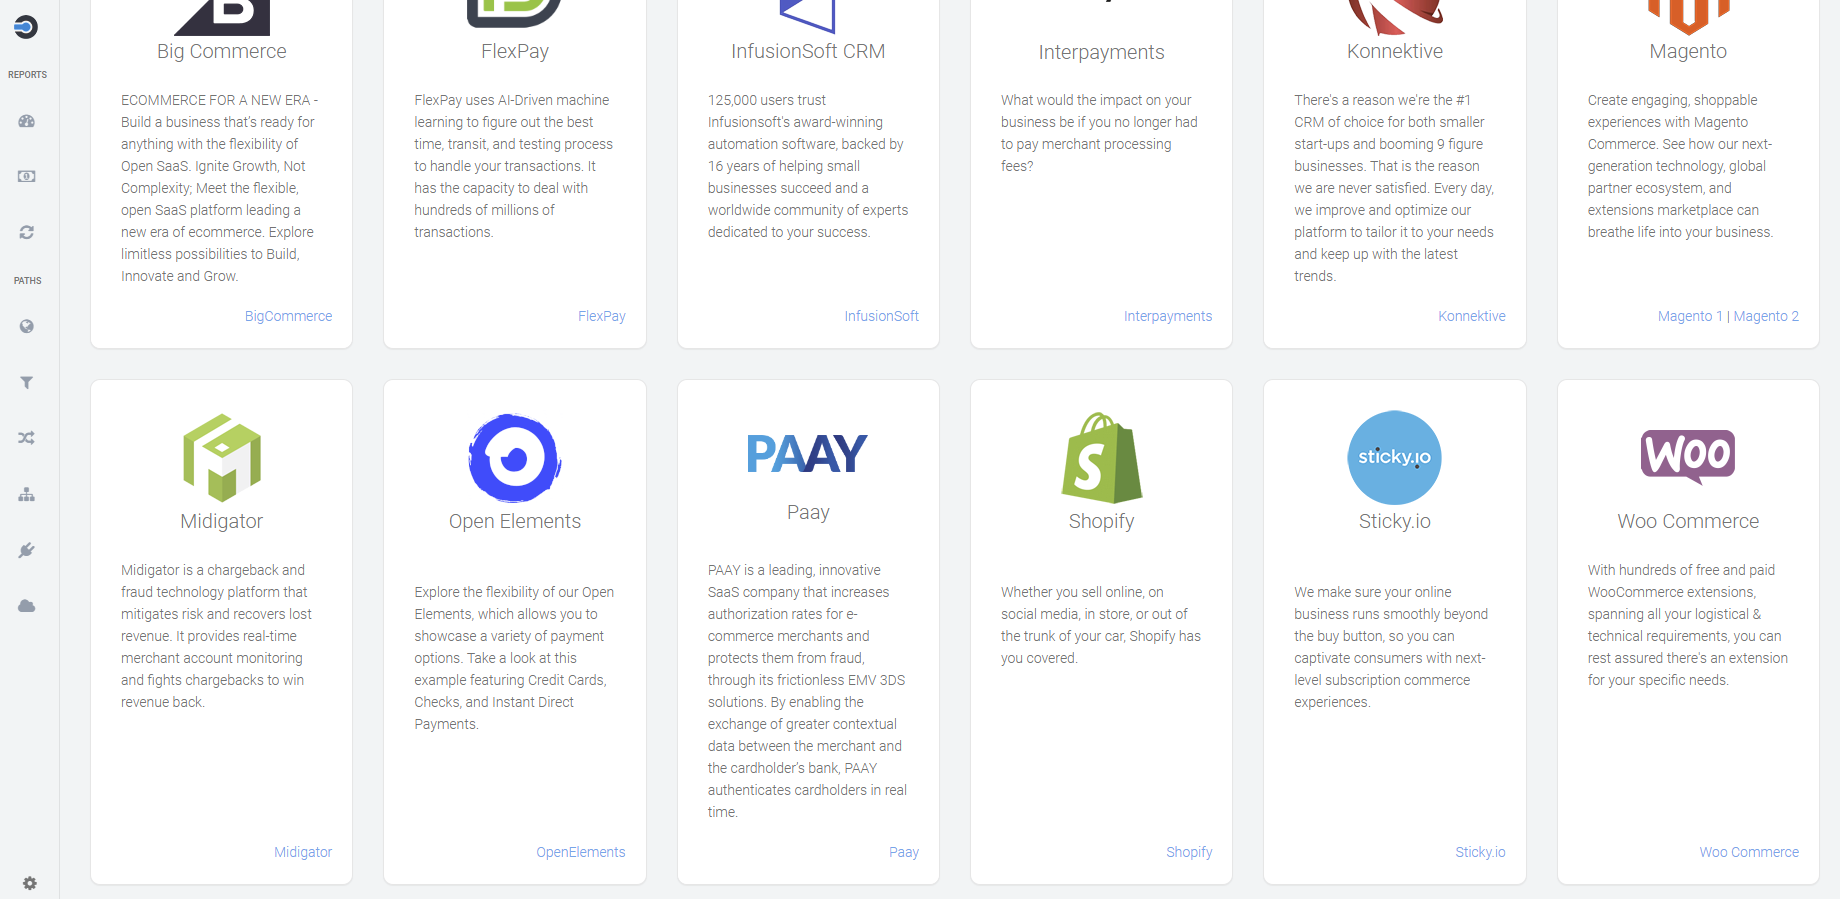
Navigate to Integrations in the left-hand menu and click on that link.
Find the Open Elements and click on that link.
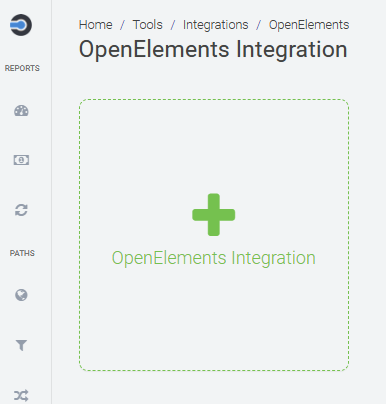
Then click on the + to add a new Open Elements Integration
Entering the Basic Information
Next starting on the Integration tab start filling out the following form:
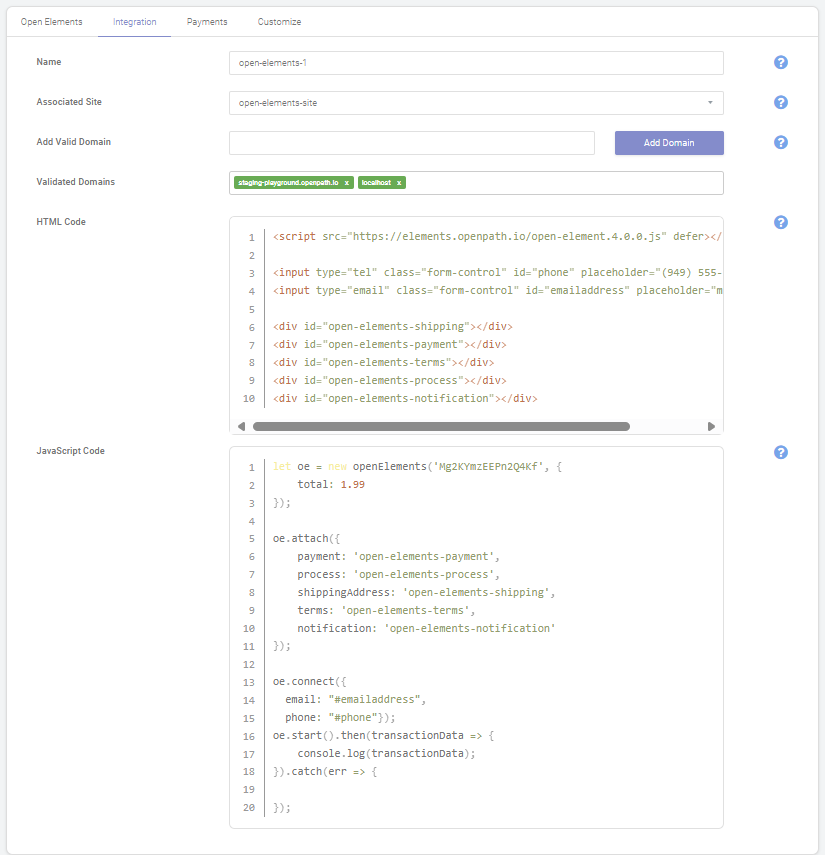
Name: The name field is only for your reference and can be anything, pick a name that allows you to easily recognize what this Open Element is being used for.
Associated Site: Next choice the OpenPath Site you want this Open Elements to attach to, to process transactions through.
Add Valid Domain: This is a very important step, there are three layers of security on the Open Elements, the Public Key (API Login ID), Device Fingerprinting and domain validation. Only domains listed here will be allowed to display the Open Elements. Add one or many domain names where you will be placing the Open Elements.
If you are not testing on a local development environment, make sure to remove localhost from the Validated Domains by clicking on the x.
Adding Payment Details
Next navigate to the Payments tab and select the Payment Types you want to use. Note: for the Beta Release of Open Elements, it currently only supports Instant Direct Payments.
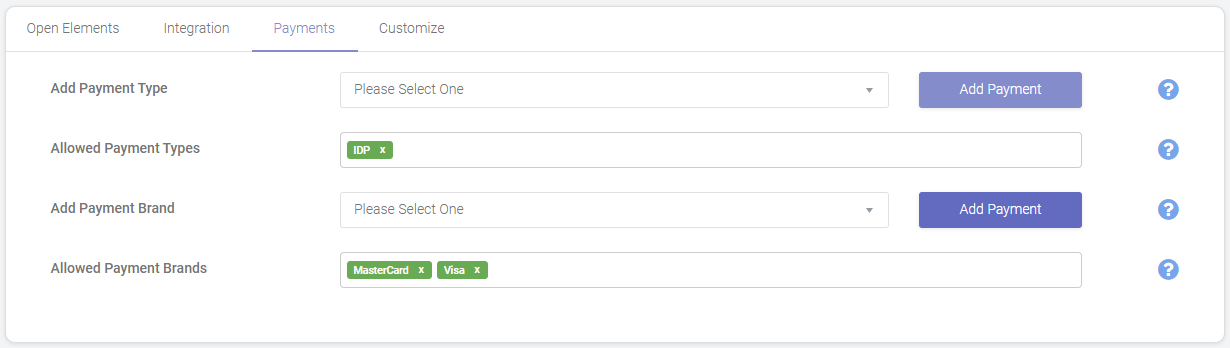
Add Payment Tab: This allows you to select what payment types you want the Elements to Support. You must select at least 1.
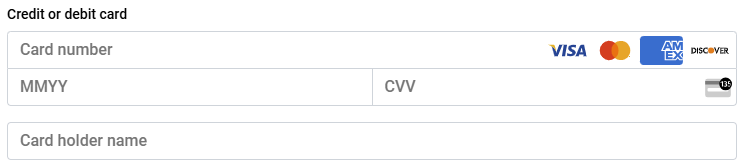
Add Payment Brands: Choose the Payment Brand Logos you want to display on the Payment Screen such as Master Card and Visa. See the screen below to see where these card brands show up.
Once complete, click the Save & Close button in the lower right of your screen.
Adding Open Elements to your Website
Navigate to your new Open Elements Integration and click on it to open the settings screen.
Once in the settings take not of the HTML Code section and the JavaScript Code sections.
You can now copy and paste the code above into your website as is and it will work as it. This example code is also the bare minimum you need to run the Open Elements on your website.
Recommended Setup
It is recommended that you place the the following JavaScript source in the head of your HTML.
<head>
  <script src="https://elements.openpath.io/open-element.4.0.0.js" defer></script>
</head>
Then you can place the Shipping, Payment, Terms, Process and Notifications div's anywhere you want them to display in the body of your HTML.
<body>
<input type="tel" class="form-control" id="phone" placeholder="(949) 555-1212">
<input type="email" class="form-control" id="emailaddress" placeholder="[email protected]">
<div id="open-elements-shipping"></div>
<div id="open-elements-payment"></div>
<div id="open-elements-terms"></div>
<div id="open-elements-process"></div>
<div id="open-elements-notification"></div>
</body>
For more information about the Open Elements, please see the following guide called The Elements
Finally add the JavaScript Code to the bottom of your HTML body.
<body>

  <!-- Website Code-->

  <script>
    $(function () {

      let oe = new openElements('xxxxxxxxxxxxx', {
        total: 1.99
      });

      oe.attach({
        payment: 'open-elements-payment',
        process: 'open-elements-process',
        shippingAddress: 'open-elements-shipping',
        terms: 'open-elements-terms',
        notification: 'open-elements-notification'
      });

      oe.connect({
        email: "#emailaddress",
        phone: "#phone"});
      oe.start().then(transactionData => {
        console.log(transactionData);
      }).catch(err => {

      });

    }
  </script>

</body>
To view a working example of the Open Elements Integration checkout our Developers Playground.
